Welcome to my blog for Geography 336 - Geospatial Field Methods. I am using this blog as an aid in the learning process and also to document what I have learned for later review.
For the first assignment the class was put into three groups. Each group is to create a surface model in one of the planter boxes in the court yard of the Phillips Science building. The purpose of the assignment is to introduce spatial concepts to the class and to get our hands dirty.
Methods
Our goal was to make a terrain model in our planter box that had certain features, including a ridge, a hill, a depression, a valley and a plain. This was to give variety to the surface features that we are surveying. While you cannot really tell from the picture below, all the required features are present. The hill covers the dark area in the center. Above the hill is our valley that runs from one side to the other, and farther above that is the forked ridge. In the bottom right corner you can just make out the depression.
There was some debris that we removed before we began to make our model. Since it was the middle of winter, we had mostly snow to work with. The snow mixed with some of the dirt in the box as we formed the hill in the center of the box, which makes it look very strange in picture 1. Fortunately I brought a snow shovel along and we were able to use that to add more snow to the box to create other features in our model.
 |
| Picture 1 showing the completed terrain model. |
To conduct the survey we used pins and string to create a grid. We planned to use a 10x20 grid to give us 200 data points, but we ended up with 180 points since we started our measurement on one edge, but only took points from the middle of the grid. We decided that this would give us a good number of points to collect and display later. The box was 4x8ft, but we measured in metric for the project with the result being one point every 12cm in the grid.
 |
| Picture 2 showing the grid we created for the terrain model. |
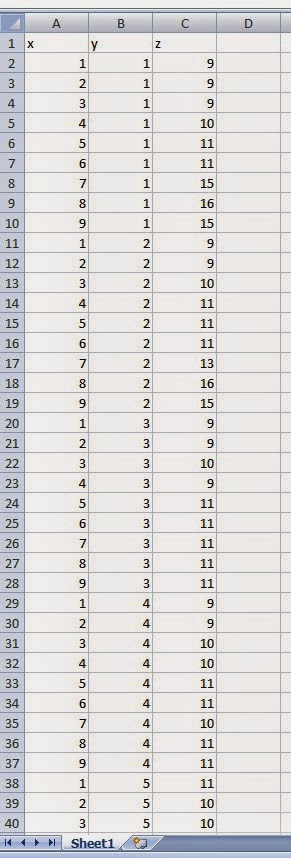 |
| Picture 3 This is a sample table of the data we collected after is was entered into an Excel spreadsheet |
Picture 4 shows the data displayed as it was in a grid. I gave it a color scale format to give an impression of the layout. You can see some of the features displayed in the color variation. This is just for visual appeal as the green colors indicate a higher elevation, and the darker red colors are a lower elevation.
 |
| Picture 4 Showing a color scaling from in Excel. |
Discussion
This exercise was useful for learning more about conducting survey. It helped me to realize the spatial relationship of features with the data we collect. Even though it is on a small scale, it helped to visualize and connect mentally what we were doing in the sand box is the same thing that is often done in the field with GPS, and other survey techniques.
I feel like this also gave us a taste of what it is like to work in the field. I have a job to do, but I control very few of the factors. It is often necessary to improvise, and since this is a class, we learn as we go.
Besides the cold, it was sometimes difficult to work with the snow. Since I was the one measuring, I had to be careful not to put pressure on the measuring stick and push it into the snow, as this would give a less accurate result.
Conclusion
While it is not perfect, I think there is pretty good detail in our model. Once it is loaded into our GIS software we will have a better idea of how good the data actually is.
The survey techniques were not very refined, but that was not necessarily the purpose of this exercise. Our task was to conduct a survey and to see what we learned along the way.
The survey techniques were not very refined, but that was not necessarily the purpose of this exercise. Our task was to conduct a survey and to see what we learned along the way.
No comments:
Post a Comment